27.7.15

New Limits Imposed


Sorry kids, I don't have time for much this week. Well into XI LXIVmos. That's the first run above, stacked beside the pulp boards used to dry the sheets. I'm pulling 160 impressions a day, which is outrageous by HM standards. Takes 12 hours, without any hassles thrown in. New top limit forever & always: 100 pulls. Even that's too much. Scheduled to be finished by this time next week, or die trying.

20.7.15

Damping & Drying Paper at HM


* UPDATE *

This week's post (below) mentions some difficulty getting the F.J. Head to dampen without cockling. As I suspected, increasing the number of sheets in the stack helped eliminate the problem. I also used thicker pulp boards, and really let the water soak in so there was almost no surface moisture. I then put the stack into the press immediately. The result was perfectly smooth & evenly dampened sheets (that's one below, on the tympan) that print beautifully. 


*   *
 
HM hasn't previously used either of the two papers we'll be printing on for XI LXIVmos - Somerset Book 115g (the white sheet above), and a very light (80 g?) F. J. Head laid (the cream sheet) that looks & feels like it was calendared. I didn't know how either paper would react when dampened, so I did a small test last week.

The book will be printed 16-up, four sections on each sheet (each section is eight pages). The sheets we'll be printing on are approximately 10 x 12 inches, and they'll be trimmed down.


I use the classic method for damping described in Gabriel Rummonds' book: paper interleaved in groups between damp pulp boards. Damping and drying takes a lot of boards. I have a few hundred on hand. Treated well, they can last you a long time (at least four projects). I've standardized sizes as much as possible, to simplify handling. The boards are all 13 x 18 inches (big enough to accommodate Reg Lissel's standard foolscap sheet). I also have sheets of quarter-inch Plexiglass to aid in handling & bookend paper stacks while being pressed.

(I have a larger set of boards and plexi for the very odd project that exceeds these dimensions.)

The "tub" is simply a plastic storage box a bit bigger than the boards, filled with clean water. Each board is immersed in the water for a few seconds, removed & the surface water allowed to run back into the tub, and then stacked on a sheet of plexi.


One of the tricks to damping is figuring out how many printing sheets to stack between each pair of boards. With Reg's paper, which was heavily sized, I settled on three sheets. I suspected the Somerset and Head papers would want more sheets per group, or they'd end up too damp. I settled on four sheets per group, just to see.

The boards are left in a stack, placed in a humidor (i.e. a thick plastic bag), and left under some weights. You need all the water to be absorbed into the boards. If any remains on the surface, you'll get cockling problems with your paper. I usually leave the boards for about an hour.

Damping: have your paper counted out into groups of appropriate number. Lay down one of your damp boards, place a group of paper on it (centered), lay another board on top, & repeat until all paper is in the stack. Place a sheet of plexi on top, put the whole thing in your humidor, place some medium weight on it, walk away.


About two hours later, put the whole lot in a press & screw the platen down quite hard. Leave it overnight.

Before putting the test batch in the press, I had a peak: as I suspected, the Head was cockling a bit. There wasn't enough paper in the stack to accommodate the amount of hydration from the boards, and cockling is the result. I'll increase the stacks to six sheets and see how that helps.


I used some raking light to show the cockling in this photo. It isn't actually as bad as it looks. Putting the sheets in the press overnight helped reduce it somewhat - nothing I'd have trouble printing on. And the cockles can be removed when the sheet is dried.

The Somerset, on the other hand, dampens like a dream, easy & flat. It'll be like printing on butter.


A properly dampened sheet isn't wet; it's cool to the touch & completely relaxed. You can see in this photo how the Head sheet drapes over my hand when held. The point of damping is to relax the paper's fibers, making it more receptive to impression and ink (i.e. less impression and ink is required compared to printing dry, giving you a crisper result).


Drying is almost the same process in reverse. The sheets must be kept damp while being printed (in this case, over a period of two days). After the last run, each sheet is placed on a dry pulp board, and a stack is built up. When finished, the whole thing is put in the press, screwed down very tight, and left overnight. The next day the sheets are dry and perfectly flat (below). Then you have to all those boards before they can be used again...


With that test completed, and the entire book set & ready, printing starts. Come back next week to see how we go. If there's no post, you'll know it wasn't good.

13.7.15

A New LXIVmo from HM


New book announcement. First publication from the new studio*. A collaboration with Bromer Booksellers of Boston.

[* First publication au commerce; there was a hors, which I'll talk about next week.]

 A descriptive bibliography of the 11 miniature books published by Anne & David Bromer from 1977 - 1989. The book will, of course, be a miniature itself. So much for swearing to never print another miniature after last summer’s Suminagashi. As Henry Morris previously observed in regard to the miniature he printed for the Bromers, it’s hard to say no to Anne.


We’ve been going back and forth with the manuscript and galleys for a few months now. Printing will start next week. The page measures 2.25 inches wide, 2.75 inches tall - that’s about the maximum dimension for a miniature in Anne’s opinion. I tried a variety of faces, testing legibility at such a small size. I didn’t want to go below eight point, and I needed a good roman and italic to differentiate the commentaries from the bibliographic descriptions. Ultimately I settled on Centaur and Arrighi, the same pair (and size) I used for my first publication, El Autobus Azul.

In addition to the 11 printed books the Bromers published, they also issued three calligraphic books in editions of between 30 and 40 copies: each copy was completely rendered by hand, no printing. (These are also described in the bibliography.) This appreciation for the calligraphic arts gave me the idea of including some in the bibliography. By happy coincidence, I learned that Claudia Cohen’s current studio assistant, artist Francesca Lohmann is a fantastic calligrapher. (More about that later this summer.) She was recruited to create a number of drawings of vines to be used as interstials in the text, as well as a large pattern that will appear on the book’s cover. She will also be rendering the name on the title page by hand in each of the deluxe copies, and numbering the colophons.


We chose vines because the Bromers did two books with Edward Gorey, and he liked vines.

The edition size was a point of much discussion with Anne: she wanted more copies than HM usually prints, and being lazy, I wanted to do even less. We compromised: I’m printing more than I would if left to my own devices, and she’s not getting as many copies as she’d ideally like.

I’ll be splitting the edition with the Bromers (the bulk of the copies going with them). HM’s regular booksellers will be able to get copies from me; collectors, institutions and anyone else will be able to reserve or order copies from Bromers.


As alluded to above, there will be two states, regular and deluxe. The regular issue (85 copies) will be printed on Somerset Book, and cased in Francesca’s vine pattern (printed in gold on vintage green Guarro laid) over boards. Issue price $150.

The deluxe issue (35 copies) will be printed on F.J. Head handmade paper, and include original samples from four of the books bound in. The title page and colophon will feature original calligraphy by Francesca. The binding will be full leather with the vine pattern stamped in gilt on both boards. Signed by the author and issued in a folding box. Issue price $950.


Both states will be bound by the excellent Sarah Creighton, with whom HM has been wanting to work for years. Printing of this little 72-page book will be done (16 up!) with the huge Ostrander-Seymour handpress, on dampened papers. Publication is scheduled for mid-autumn. A printed prospectus will be available later this summer. I’ll post some production photos when we get into it.

AND ANOTHER THING!

It's the plural for 64mo, the format of a miniature.

6.7.15

Covering Up


Gearing up to start a new project. The Washington is still settling into its new home & seems a little stiff - the bed doesn't slide the way it used to. Hopefully that's just a matter of getting things moving again.

One of the aspects of handpress maintenance that I try to keep to a minimum is recovering the tympan, and to a lesser extent, the frisket. Both need to be covered with a sheet of thin, strong paper that is taut as a drum skin and flat as a board. Sometimes a new sheet dries funny & you have to start all over.

(Please note that the following basically is the method described in Gabriel Rummonds' excellent Printing on the Iron Handpress. Any discrepancies are my fault. His book should always be your first & best resource for information about printing.)

http://paisleydogpress.com/2014/02/letterpress-glossary-frisket/

The tympan is the sheet on which a sheet to be printed rests. The frisket folds over the tympan and has windows cut into it, just big enough to allow the text area to print onto the sheet, while covering the non-printing margins and holding the sheet in place. The frisket & tympan also are the parts most likely to be missing if/when from a handpress.

You start with removing the old sheet. Right now, the tympan on the press is still good. The frisket, however, was old and many times patched, so it had to go. Both tympan and frisket basically are just metal rectangles (or wood & metal in the case of the tympan). The sheet is adhered with white glue, so replacing one begins with scraping away all the paper & glue around both sides of the frame. It's messy.

I have tried using wheat paste instead of glue, since it would be much easier to remove. But it doesn't dry fast enough to hold the paper in place while securing it all round the frame.

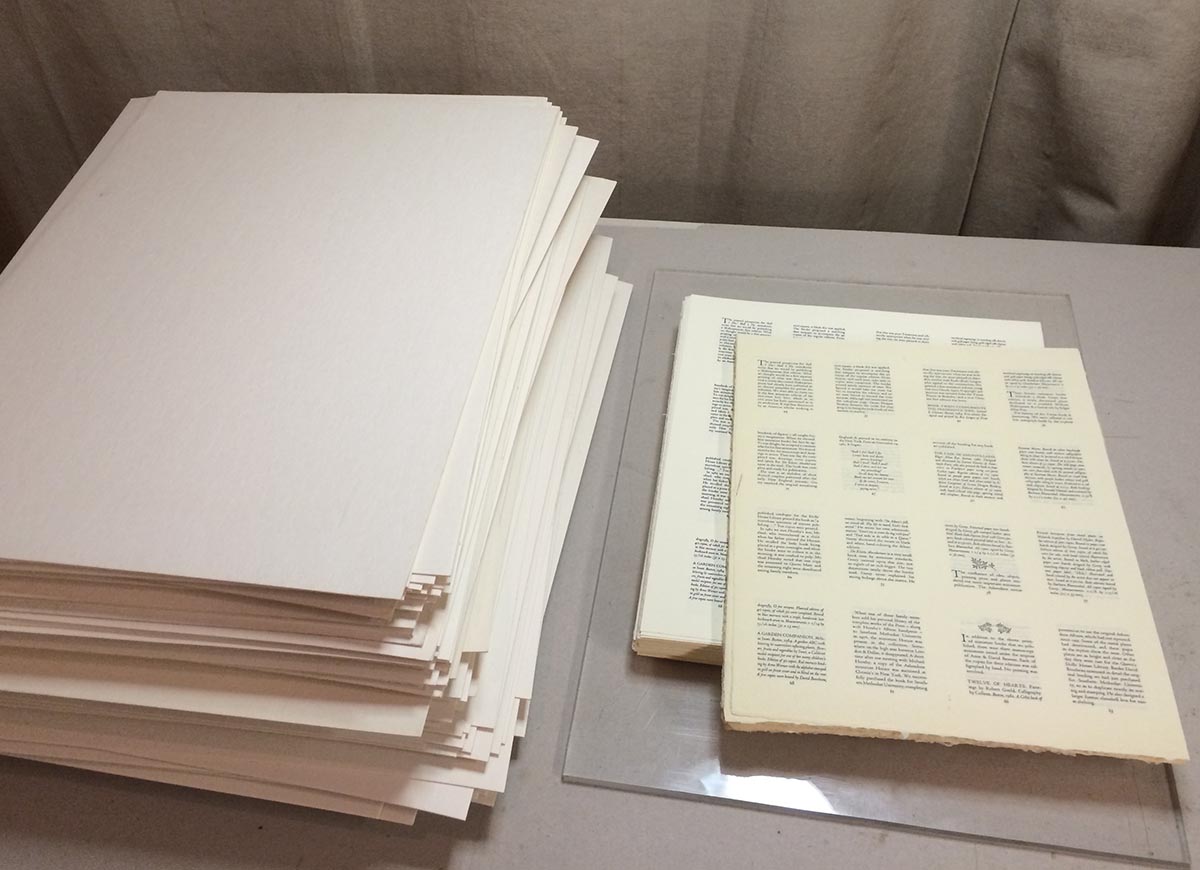
Linson paper is the best material for covering friskets. It's basically a commercial binding paper. There's one place in Canada, a few thousand miles from HM HQ, that wholesales it, but you must buy it in lifetime supplies and I don't want to store rolls of paper. So, I have been using good printmaking papers to cover friskets & tympans: Arches wove has worked well. I have a large stack of 115 g Somerset Book for the new project, so I tried that. It worked well.

Once the frame is as clean as possible, you cut a piece of paper that is 1 inch bigger all round. The surface you'll work on affects how things turn out: it must be solid but also somewhat absorbent (you'll see why). I cover the counter in a sheet of mill board.

I use a spray bottle to dampen one side of the sheet, & then leave it for a few minutes to expand and relax. Then I slip it and spray the other side. Depending on the paper I repeat this sequence - you need to judge how much moisture the sheet needs. You want it to fully relax, and hold that condition for enough time to secure the edges (5 minutes?).


Once the sheet is completely relaxed, brush a fairly wet glue around the edges in a perimeter to cover the bottom of the frisket and top (i.e. when the outer edge of the paper is folded back & over). Work fast. Make sure you have scrap paper beneath to catch any stray glue so it doesn't mess up the other side of the sheet.

Place the frisket on it so that the border edges are all (roughly) equal. Using very sharp scissors, make perpendicular cuts into the paper, up to the frisket's edge. These should be made every 3-4 inches.(In these photos you'll see I cut the strips first; I've done this enough on this frisket to know where things need to be.)


Now start folding these section over the frisket. Start in the middle of one side. Then do the opposite side, gently pulling the sheet as taut as possible (this is why you don't want any surface tension between the damp sheet & the surface it's lying on).


Then do the other two sides. With these four center pieces in place, work from the center of one side to either corner. Then do the opposite on the far side. Then the other two ends. Then repeat, working to the remaining corners. Keep pulling the paper (gently) as taut as possible. Fitting the paper around the hinges takes a bit of tailoring with scissors; you'll figure it out.

Once all the edges are secured, I cover then with a clear plastic packing tape that's wide enough to fold and cover both sides of the frame.


Hopefully the sheet looks pretty flat as this point. If you see a few wrinkles (if they appear it's usually near a corner), cross you fingers and hope they'll disappear when the sheet dries. In this case, mine did.

I leave the covered frisket standing vertical, resting on its hinges, to dry. Takes a couple of hours. Should sound like a bass drum when fully dry.

Things that can go wrong:
  • The paper tears when drying. Probably isn't strong enough to use; try something different.
  • The frame warps! That would take some seriously strong paper that expands a tremendous amount. Try something different. 
  • There are wrinkles/cockles. With a tympan this will ruin your printing; try again. With a frisket, depending how bad & where they are, you might be able to still use it. Probably save yourself grief to do it over. 
In all cases, doing it over means going back to step one: scraping all the paper & glue off. You can see why one avoids the process altogether whenever possible.

The worst part about covering a frisket is that, as soon as it's back on the press, you have to cut holes in it!